I started seeds on a sunny kitchen windowsill for my first four years of gardening and got away with it only because I was stubborn. The seedlings were leggy, pale, and barely survived transplanting. The fifth year I built a real seed-starting setup and the difference was dramatic enough that I felt foolish for having waited. Here is the system I use now, everything I learned to get here, and the specific mistakes I made that you do not need to repeat.
Why a windowsill is almost never enough
The problem with a sunny window is not the amount of light you perceive, it is the amount of light the plant receives. Standing indoors and looking out of a south-facing window in March, you might feel like it is bright. A light meter on the windowsill will read something like 2,000 lux at peak. Full midday sun outside is 100,000 lux. A tomato seedling wants 15,000-25,000 lux for roughly 14 hours a day, which no windowsill in the Pacific Northwest provides in March.
What seedlings do when they do not have enough light is stretch. Stems go long, thin, and pale as the plant reaches for brighter light. This is called etiolation, and once it happens the seedling is permanently disadvantaged. You can bury it deeper at transplanting, which is a fine recovery move with tomatoes, but not with peppers, brassicas, or most flowers.
The setup that actually works
I grow about 150 seedlings a year on a single three-tier rack in the corner of the laundry room, for a total investment I will probably break even on in year five if I am being strict with myself. You do not need this much. You can scale it down to a single tray without changing the approach.
My indoor seed-starting setup:

- 3-tier wire shelving unit, 48"x18"x60"
  (any Costco-style metal rack works)
- 6x Sunlite T5HO fluorescent shop lights, 24"
  (two per shelf, hung with chain from shelf above)
- Timer: Century digital plug-in, 16 hours on, 8 off
- Heat mat: Vivosun 20"x10", under seedling tray
  (used only for germination, removed after)
- 1020 trays + 72-cell inserts, bottom-watered
- Small fan on medium, runs 4 hours a day at middle shelf
- Thermometer/hygrometer at each shelf
The LED conversion is tempting and I did try it in year two. A cheap LED shop light can work, but the cheap ones have a light spectrum that stalls photosynthesis. The good full-spectrum LEDs (Mars Hydro, Spider Farmer) are $120-200 per unit and yes, they grow seedlings beautifully, but they were overkill for my scale. T5 fluorescents are $30-50 per fixture, plug-and-play, and have a near-ideal spectrum for seedlings. They may not be the future, but they are the best current value.
Timing: the part that matters most
The most useful thing I did for seed starting was write down my frost dates on the calendar and count backwards. In Portland, last frost averages April 15. Every crop has a “weeks-before-last-frost” number on the seed packet. Follow it. Start too early and you have root-bound seedlings stuck in trays waiting for warm soil. Start too late and you are transplanting tiny plants that never catch up.
My actual calendar, anchored to Portland’s April 15 last frost:
Feb 1:  Onions, leeks, celery
Feb 15: Peppers, eggplant
Mar 1:  Brassicas (broccoli, kale, cabbage)
Mar 15: Tomatoes, tomatillos, first lettuce
Apr 1:  Basil, flowers (zinnia, marigold, cosmos)
Apr 15: (last frost avg.)
Apr 20: Cucumbers, melons, squash (4 wks before transplant)
May 10: Target transplant date for warm-season crops
Peppers and eggplants are the only ones that really need 10-12 weeks. Everything else is 4-6 weeks. If you are starting tomatoes 12 weeks before last frost because a blog told you to, you will end up with 18-inch leggy tomatoes sitting in your living room in mid-April with still three weeks to go before it is safe to plant them. I have done this. It is not good.
The germination phase
Seeds need three things to germinate: water, warmth, and time. Not light. Most seeds germinate just as well in the dark.
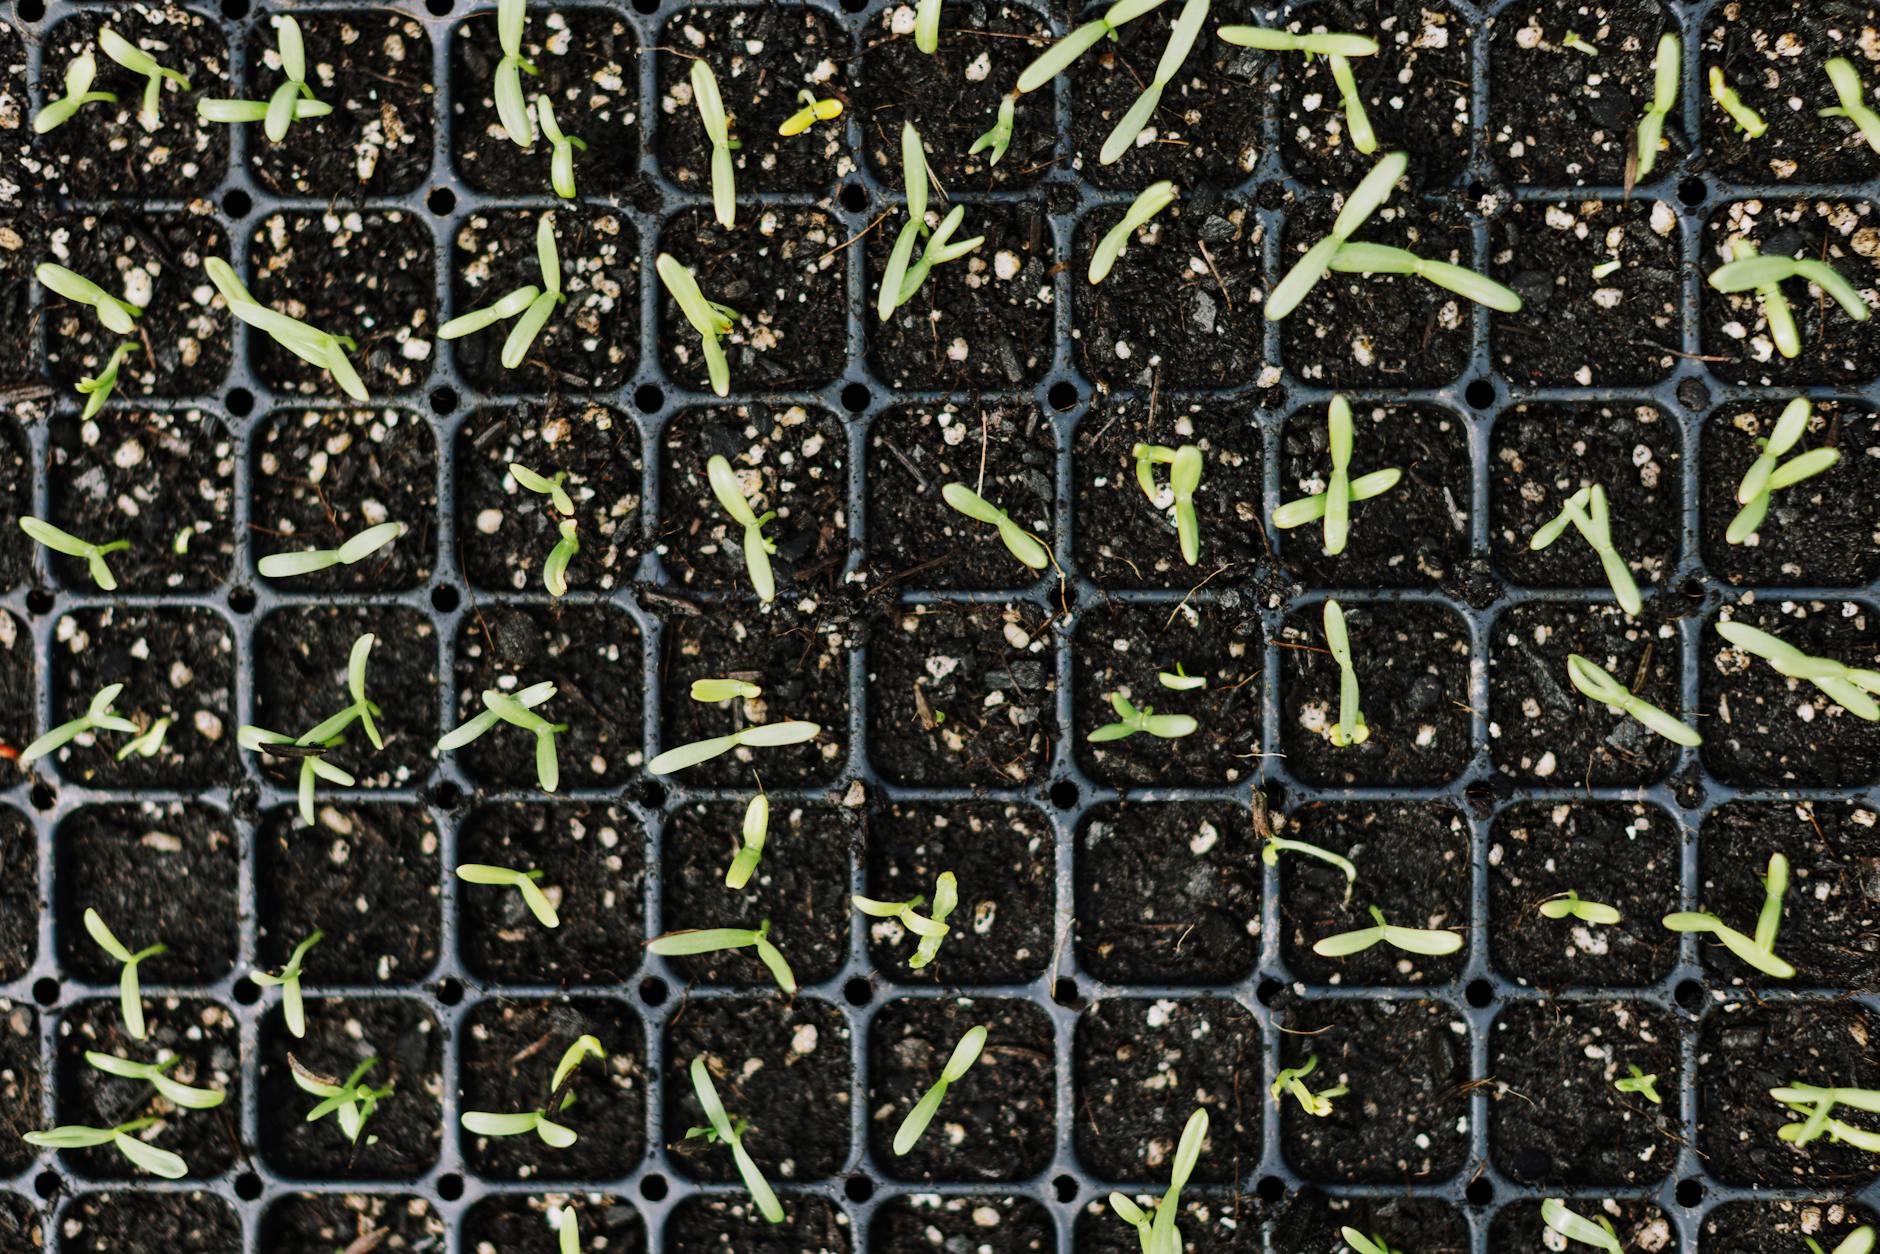
I use 72-cell inserts in 1020 trays, filled with seed-starting mix (ProMix BX or Johnny’s 512 mix), pre-moistened to what I think of as a wrung-out sponge. Two seeds per cell, pressed in to the depth the packet specifies (usually 2-3x the seed diameter), a plastic humidity dome on top. The dome creates a greenhouse and keeps the surface from drying out.
Warm-season crops (tomatoes, peppers, eggplant, basil) go on the heat mat, which brings soil temperature to 75-80°F. Cool-season crops (brassicas, lettuce, onions) germinate fine at room temperature. The heat mat comes off the moment the first seedlings emerge, which is critical. Leaving the heat mat on after germination stretches the new seedlings and undoes everything else you are about to do right.
The first two weeks after germination
This is where most people lose their seedlings. The humidity dome needs to come off the day you see the first cotyledons. Seedlings under a dome in the sun will damp off (collapse from fungal infection) within 48 hours.
The lights should be 2-3 inches above the seedlings, moved up as they grow. If the leaves start curling down or looking bleached, the lights are too close. If the stems are getting longer between leaf pairs, the lights are too high or too weak.
I thin to one seedling per cell at the first true leaf stage, using small scissors to snip the weaker seedling at the soil line. Do not pull, it disturbs the keeper’s roots. The hardest gardening lesson I ever learned was that killing half your seedlings at the seedling stage produces better plants than letting them compete.
Watering, correctly
Bottom-watering is non-negotiable for seedlings. Pour water into the 1020 tray, not onto the seedlings. The soil draws it up through capillary action, the surface stays dry (which discourages damping off), and every cell gets an even drink. Let the tray sit in water for 20 minutes, then dump any that has not been absorbed.
I water when the surface of the soil looks dry and the inserts feel noticeably light. This is usually every 2-3 days in the early weeks, daily by the time seedlings are four weeks old. Never let the soil dry to the point where it pulls away from the edges of the cell.
The fan, the thing I almost skipped
A small fan on low-to-medium, blowing across the seedlings for a few hours a day, does three things: thickens stems (the plant responds to wind stress by building sturdier stalks), prevents fungal issues by moving air, and hardens off the seedlings gradually for real outdoor conditions.
My fan is a $20 Honeywell desk fan on an outlet timer, on for 4 hours during midday. Seedlings that grow up with a fan transplant out with visibly sturdier stems than ones that do not.
Fertilizing seedlings
Seed-starting mix has essentially no nutrition. Seedlings do not need any for the first two weeks because the seed itself contains enough. After the first true leaves, I start feeding weekly with a quarter-strength dilution of fish emulsion (2 teaspoons per gallon instead of the label’s full tablespoon). Every other week I add a pinch of kelp meal to the reservoir. Under-fertilizing is fine. Over-fertilizing burns the delicate roots.
Potting up
Tomatoes and peppers get potted up from 72-cell trays to 4-inch pots around week 4-5, when their true leaves are crowding. This is the single most valuable thing you can do for final plant size. Skipping the pot-up step means the plant spends two weeks stalled in a tiny cell waiting for better real estate, and that stall never fully recovers.
Lettuce, brassicas, and herbs I rarely pot up. They go straight from 72-cell to the garden at their planting date.
Hardening off
This is the transition from indoor seedling to outdoor plant, taking about 7-10 days. The sudden move from 10,000 lux of fluorescent light and 70°F still air to 80,000 lux of real sun and wind will scorch a coddled indoor seedling within a day.
Hardening-off schedule, roughly:

Day 1:  2 hours in dappled shade
Day 2:  3 hours, partial shade
Day 3:  4 hours, morning sun
Day 4:  5 hours, morning + some afternoon
Day 5:  6 hours, full sun
Day 6:  8 hours, overnight if temp > 50°F
Day 7:  Full day/night outside
Day 8:  Plant.
Bring them in if wind picks up, rain pours, or temperatures drop below 45°F. I lost a full tray of tomatoes once by forgetting they were out overnight when a 38°F cold front came through. The heartbreak trained me permanently.
Bottom line
Real indoor seed starting is about light, heat, and timing, in that order. Get yourself one cheap shop light and a heat mat, count backwards from your last frost date, bottom-water, run a fan, and harden off with patience. Skip any of these and your seedlings will tell you. The ones you grow well will outperform the $7.99-per-four-pack starts at the nursery by a mile. The ones you grow poorly will not. Either way you learn. I have made every mistake on this list, including twice, and the garden forgives you if you keep paying attention.